Are you looking to find the SSID of your iPhone? If so, this article is for you. Connecting to a secure Wi-Fi network is important for protecting your data from malicious users. To do this, you need to find the SSID of your iPhone.
Finding the SSID of your iPhone is not as difficult as it may seem. With a few simple steps, you can access this information and ensure that your device is always connected to a secure network.
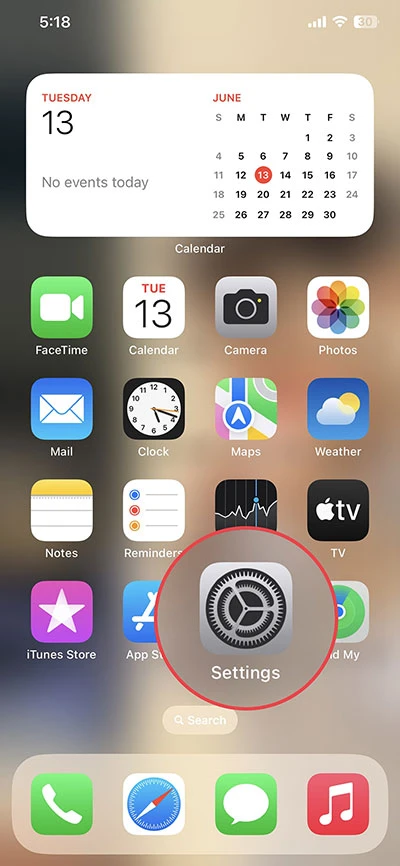
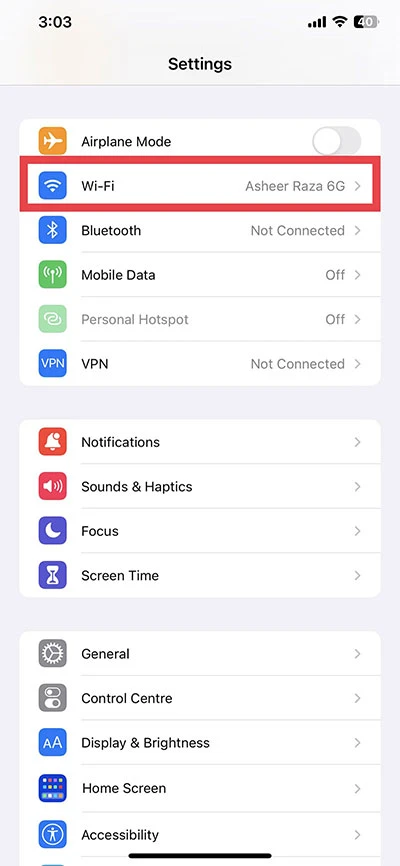
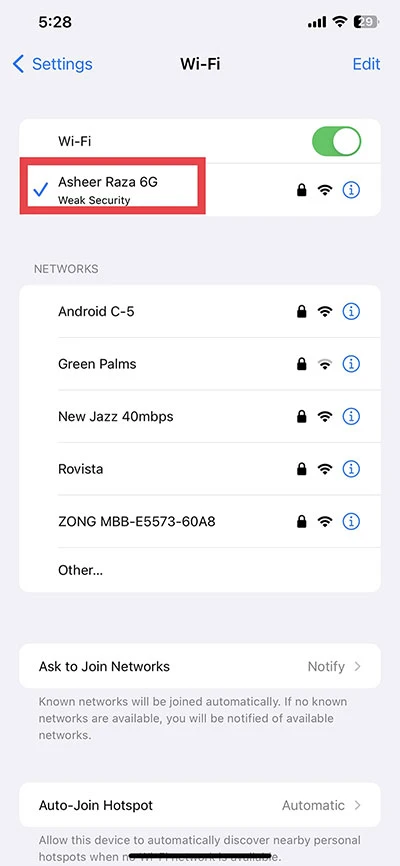
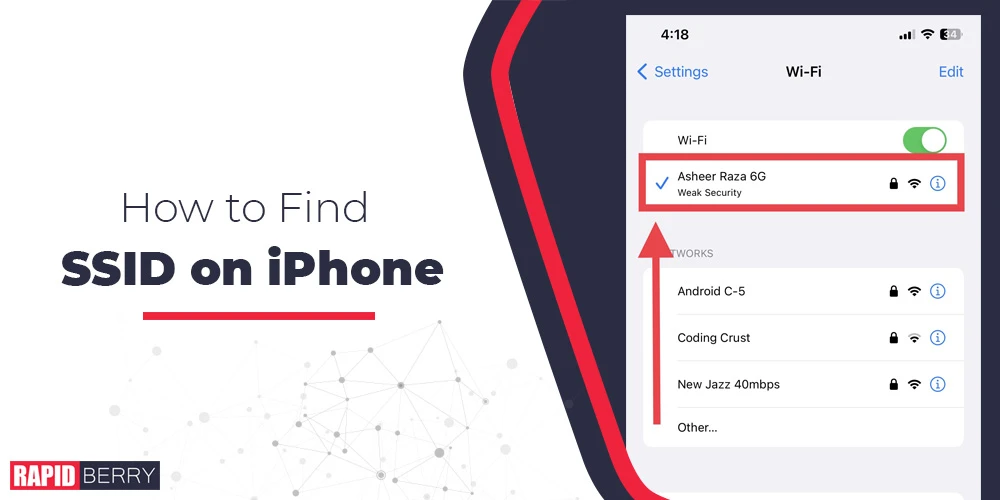
Open the Settings App on your iPhone and Tap on Wi-Fi. You will see a connected wifi network name it’s your SSID.
In this article, we’ll walk through the steps you need to take to find your SSID. With this information, you can keep your device secure and keep your personal data safe.
Steps to Find SSID on iPhone
The SSID, or Service Set Identifier, is the name of your Wi-Fi network. It’s what you see when you’re looking for a Wi-Fi network to connect to. If you need to find the SSID of your Wi-Fi network, you can do it on your iPhone.
- Open the “Settings” app on your iPhone.

- Tap on “Wi-Fi.”

- On the Wi-Fi screen, you will see a list of available networks. The SSID of the network that your iPhone is currently connected to will be displayed at the top of the screen under “Wi-Fi.”

- If you are not currently connected to a Wi-Fi network, you can still view available networks and their SSIDs by tapping on the name of a network in the list.
What is SSID?
SSID stands for Service Set Identifier. It is a unique identifier for a wireless network. It is what users see when they are looking for a wireless network to connect to. SSIDs can be up to 32 characters long and can contain letters, numbers, and special characters.
How SSID Works?
When you connect to a wireless network, your device sends a request to the router with the SSID of the network you want to connect to. The router then sends a response back to your device, allowing you to connect to the network.
Why is SSID Important?
SSIDs are important for several reasons:
- First, they allow users to identify different wireless networks.
- Second, they allow routers to distinguish between different wireless networks.
- Third, they can be used to control access to a wireless network.
How to Change the SSID?
You can change the SSID of your wireless network if you want to make it more secure or if you want to change the name of your network.
To change the SSID of your wireless network, you will need to access the settings for your router. The exact steps for doing this will vary depending on the make and model of your router.
However, in general, you will need to find the section of the settings that is for Wi-Fi or wireless networks. Once you have found this section, you should be able to find a field for the SSID. Enter the new SSID in this field and save your changes.
Once you have changed the SSID of your wireless network, you will need to reconnect all of your devices to the network. This is because the old SSID will no longer work.
Here are some tips for choosing a good SSID:
- Make it unique. Don’t use the same SSID as your neighbor or another business in your area.
- Make it memorable. You want your users to be able to remember your SSID so they can easily connect to your network.
- Avoid using personal information. Don’t use your name, address, or phone number in your SSID. This could make it easier for someone to hack into your network.
- Keep it short. SSIDs can be up to 32 characters long, but it’s best to keep them short and easy to remember.
By following these tips, you can choose a good SSID that will help keep your wireless network secure and easy to use.
Conclusion
That’s it! You have successfully found the SSID on your iPhone. I hope this blog post was helpful and informative. If you have any questions or feedback, please leave a comment below. Thank you for reading!

